Showing posts with label Fall. Show all posts

Sunday, October 7, 2012

Candy Corn Mosaic

When we bake, the Big One has a hard time waiting for things to cook and then cool. Who doesn't have a hard time waiting? It smells so yummy! I try to find a simple craft related to our baking. Yesterday, while waiting for our cupcakes, we made a candy corn mosaic.


Supplies

Black, orange, white, and yellow construction paper
Glue
Scissors
Chalk (optional)


I traced the outline of a candy corn on black paper with chalk. I cut two strips each of the orange, white and yellow construction paper, then had her cut them into smaller pieces.

She glued the pieces into the appropriate places, sometimes trimming some of the pieces so they would fit within the lines. It was very simple and kept her busy while we were waiting!

Sunday Sweets: Candy Corn Cupcakes

It's Sunday, so time to make something sweet to eat! The Big One and I found this recipe on the McCormick website and it is delicious! Our cupcakes were moist, tasty and fun to make!


Makes 24 (1 cupcake) servings.
Prep Time: 30 minutes
Cook Time: 20 minutes

Ingredients

1 package (18 1/4 ounces) white cake mix
2 teaspoons McCormick® Pure Vanilla Extract
McCormick® Assorted Food Colors & Egg Dye
1 container (16 ounces) vanilla frosting
Assorted decorations, such as orange sprinkles and candy corn

Directions

1. Prepare cake mix as directed on package, adding vanilla. Divide batter in half. Tint one batch yellow with 1/3 teaspoon yellow food color. Tint second batch orange with 1/4 teaspoon yellow food color and 1/8 teaspoon red food color.

2. Fill each paper-lined muffin cup 1/3 full with yellow batter. Gently add orange batter on top of yellow batter, filling each muffin cup 2/3 full. Bake as directed on package for cupcakes. Cool cupcakes on wire rack.

3. Frost cupcakes. Decorate with sprinkles and candy corn.

Tips
Test Kitchen Tip: For easier measurement, 1/4 tsp. Food Color = 20 to 25 drops


We also separated our frosting and tinted it orange and yellow, to continue the candy corn theme. If we had candy corn handy, I would have put a candy corn on the top of each cupcake, instead we just sprinkled the tops with yellow sprinkles.

Saturday, October 6, 2012

Q-Tip Fall Tree

This craft is perfect for those little ones who don't like getting dirty. Sometimes the Big One is in that kind of mood, like the day we made this craft. It was perfect because the hands stay clean without having to use a paintbrush!


Supplies

Q-Tips
brown and white construction paper
red, brown, orange, yellow and green paint
brown marker

1. Cut a rectangle from the brown construction paper for the trunk (You could also paint the trunk or draw it on with marker) and glue it on the white paper.

2. With the brown marker draw in branches.


3. Use Q-Tips to make the "leaves".


Voila! A finished product! A perfect craft to be done spur of the moment when the kids are getting restless.

Fingerprint Fall Tree

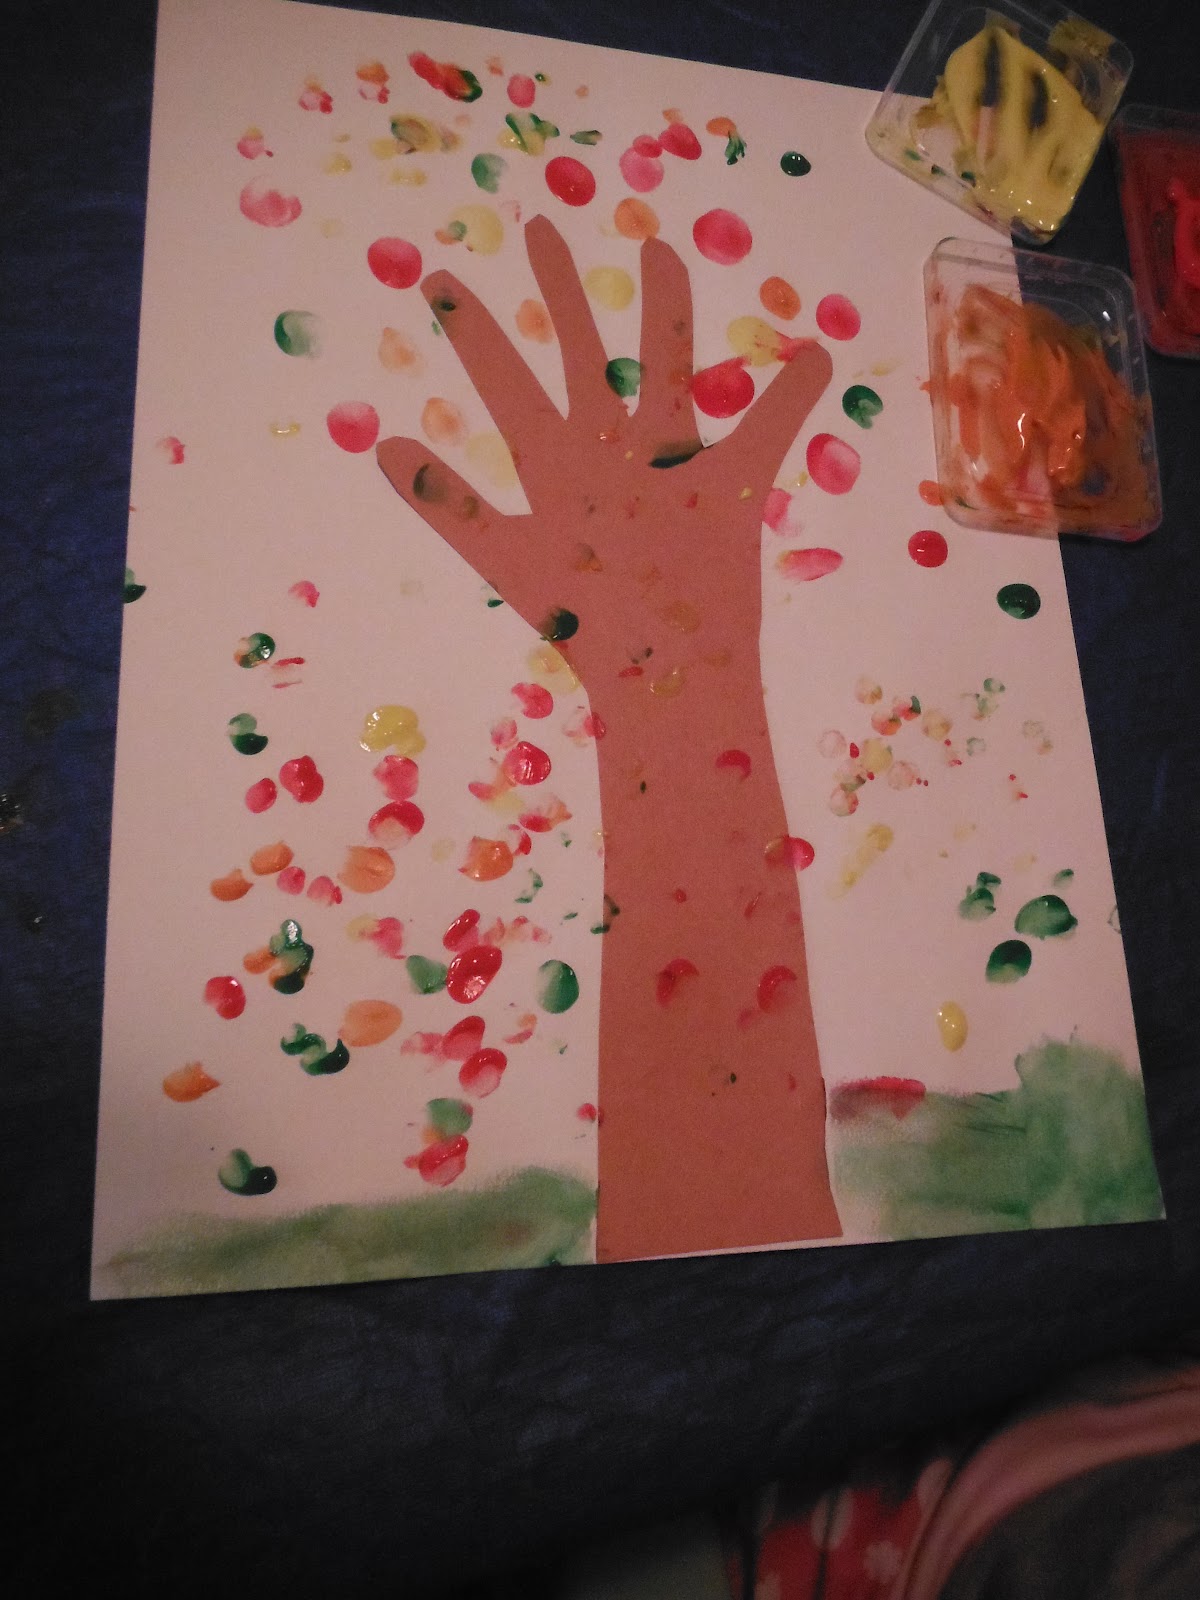
The Big One and I made fall trees last week. Since our leaves don't change colors here in Florida, we made our own foliage...


This craft was very simple and fun to do. The Big One wanted to have leaves falling as well as on the branches... she ended up getting a little carried away, as you will see in her finished product.
 
Supplies
 
white and brown construction paper

green, red, yellow, and orange paint


1. Trace your child's hand and forearm on brown construction paper. Cut it out and glue it to the white paper.
 
 
2. The Big One decided to paint grass along the bottom of her paper. Then just make fingerprint leaves in different colors around the "branches" to fill in your fall tree.
 
 
Easy peasy, right?
 
This is what it looked like when she was finished! There are branches in there somewhere... I think! LOL! What matters most is that she had fun!


Sunday, September 30, 2012

Sunday Sweets: Chocolate Skeleton Cookies

Chocolate Skeleton Cookies


These yummy treats are a great way to use your gingerbread man cookie cutter more than just once a year! I found this recipe here.

Ingredients

  • 1 cup butter, softened
  • 1 cup sugar
  • 1/2 cup packed brown sugar
  • 1 egg
  • 1 teaspoon vanilla extract
  • 2-3/4 cups all-purpose flour
  • 1/2 cup baking cocoa
  • 1 teaspoon baking soda
  • 1-1/2 cups confectioners' sugar
  • 2 tablespoons 2% milk

  •  
    Directions
     

  • In a large bowl, cream butter and sugars until light and fluffy. Beat in egg and vanilla. Combine the flour, cocoa and baking soda; gradually add to creamed mixture and mix well. Cover and refrigerate for 1-2 hours or until easy to handle.
  • On a lightly floured surface, roll dough to 1/8-in. thickness. Cut with a floured 3-in. gingerbread boy cookie cutter. Place on greased baking sheets.
  • Bake at 375° for 7-8 minutes or until set. Cool for 1 minute before removing from pans to wire racks to cool completely.
  • For icing, in a small bowl, combine confectioners' sugar and milk until smooth. Cut a small hole in the corner of a resealable plastic bag; fill with icing. Pipe skeleton bones on cookies. Yield: 3 dozen.

  • Friday, September 28, 2012

    Hand Print Apple Tree


    To celebrate Johnny Appleseed's birthday we made this hand print apple tree. The theme was the perfect follow up to our apple picking adventure while on vacation. The Big One really enjoyed making her hand prints and gluing the apples on the tree.


    Supplies

    White, red and brown construction paper
    Scissors
    green and brown paint


    1. Paint the child's palm green. Make three hand prints as shown.


    2. Paint the tree trunk. I pained the branches in between the hand prints and made the outline of the tree trunk. The Big One filled in the outline (and added grass). You may need to assist less depending on your child's ability.


    3. While the Big One was painting, I cut apple shapes out of red paper and cut small rectangles for stems out of the brown paper.


    4. While waiting for the paint to dry, we glued the stems to the apples and then the apples to the tree.

    We enjoyed talking about picking apples while we were creating this project. It is simple and fun!

    Fingerprint Apple Tree

    Tuesday's theme at Story Time was apple related in honor of Johnny Appleseed's birthday (September 26, 1774). I have heard about Johnny Appleseed most of my life, but never knew his story. I listened intently with the children and decided to google him upon returning home.


    The biggest shocker for me was that he was a REAL person! I had no idea! I also learned that he was a simple man, deeply religious, and a  vegetarian and wore his cooking pot on his head as a hat.

    The take home craft was a fingerprint apple tree and is so easy to make.
    (Unfortunately I forgot to take pictures until it was finished)


    Supplies

    Toilet Paper Roll
    Brown and Green Construction Paper
    Red Paint


    1. Cut a strip of brown construction paper as wide as the toilet paper roll. Make sure it is long enough to wrap around the entire roll.

    2. Glue the brown paper to the roll. (I had to paperclip the paper until it dried to make it stick)

    3. Cut the top of the tree out of green construction paper.

    4. Have your child make "apples" from their fingerprints with the red paint.

    5. After the paint has dried glue the top of the tree to the toilet paper roll.

    Pretty easy right? I'd love to hear how your project turns out!